Table of Content
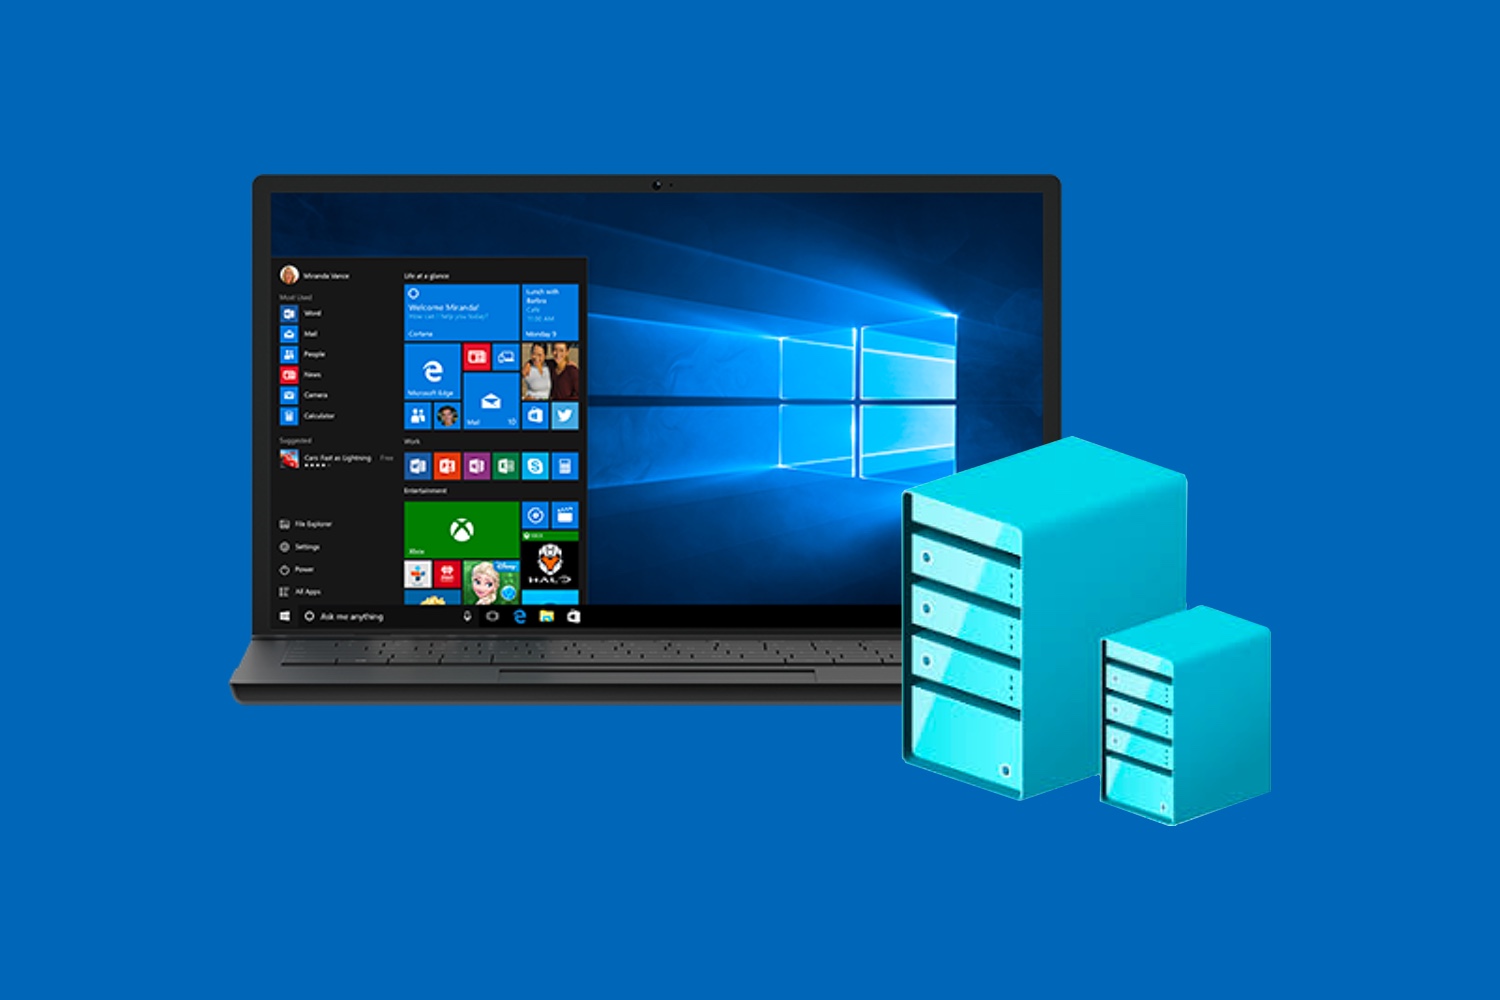
Bcdedit is the command line tool to manage Boot Configuration Data or BCD. BCD store is used to describe boot parameters for applications, add boot menu entries, etc. If you use BCD to disable Hyper-V, the Hyper-V feature is disabled but not uninstalled completely from Windows. As you remember, Hyper-V is the first-type hypervisor that boots before Windows boots.
Hyper-V is set up in this instance but isn’t running. If you use the command line bcdedit tool to deactivate Hyper-V, Windows does not start up before Hyper-V does. The command-line utility used to handle Boot Configuration Data, or BCD is called bcdedit. Applications’ boot settings are described in the BCD store, which is also used to add boot menu items, etc. The Hyper-V capability is deactivated but not totally removed from Windows if you use BCD to disable it. As you may recall, Windows boots before the first type of hypervisor, Hyper-V.
Online Shopping
Once done, close Device Manager and restart your PC. Next, uninstall Hyper-V and check for any improvements. You can disable Hyper-V in boot configuration using the BCDEdit tool. Useful if you only want to deactivate Hyper-V and not uninstall it completely.
My ComputersYou need to have JavaScript enabled so that you can use this ... My ComputerYou need to have JavaScript enabled so that you can use this ... Obinna Onwusobalu has studied Information & Communication Technology and is a keen follower of the Windows ecosystem. Choose a location where you want to save the file.
Solved: “No Option to Empty Recycle Bin in Windows 10/11” Issue
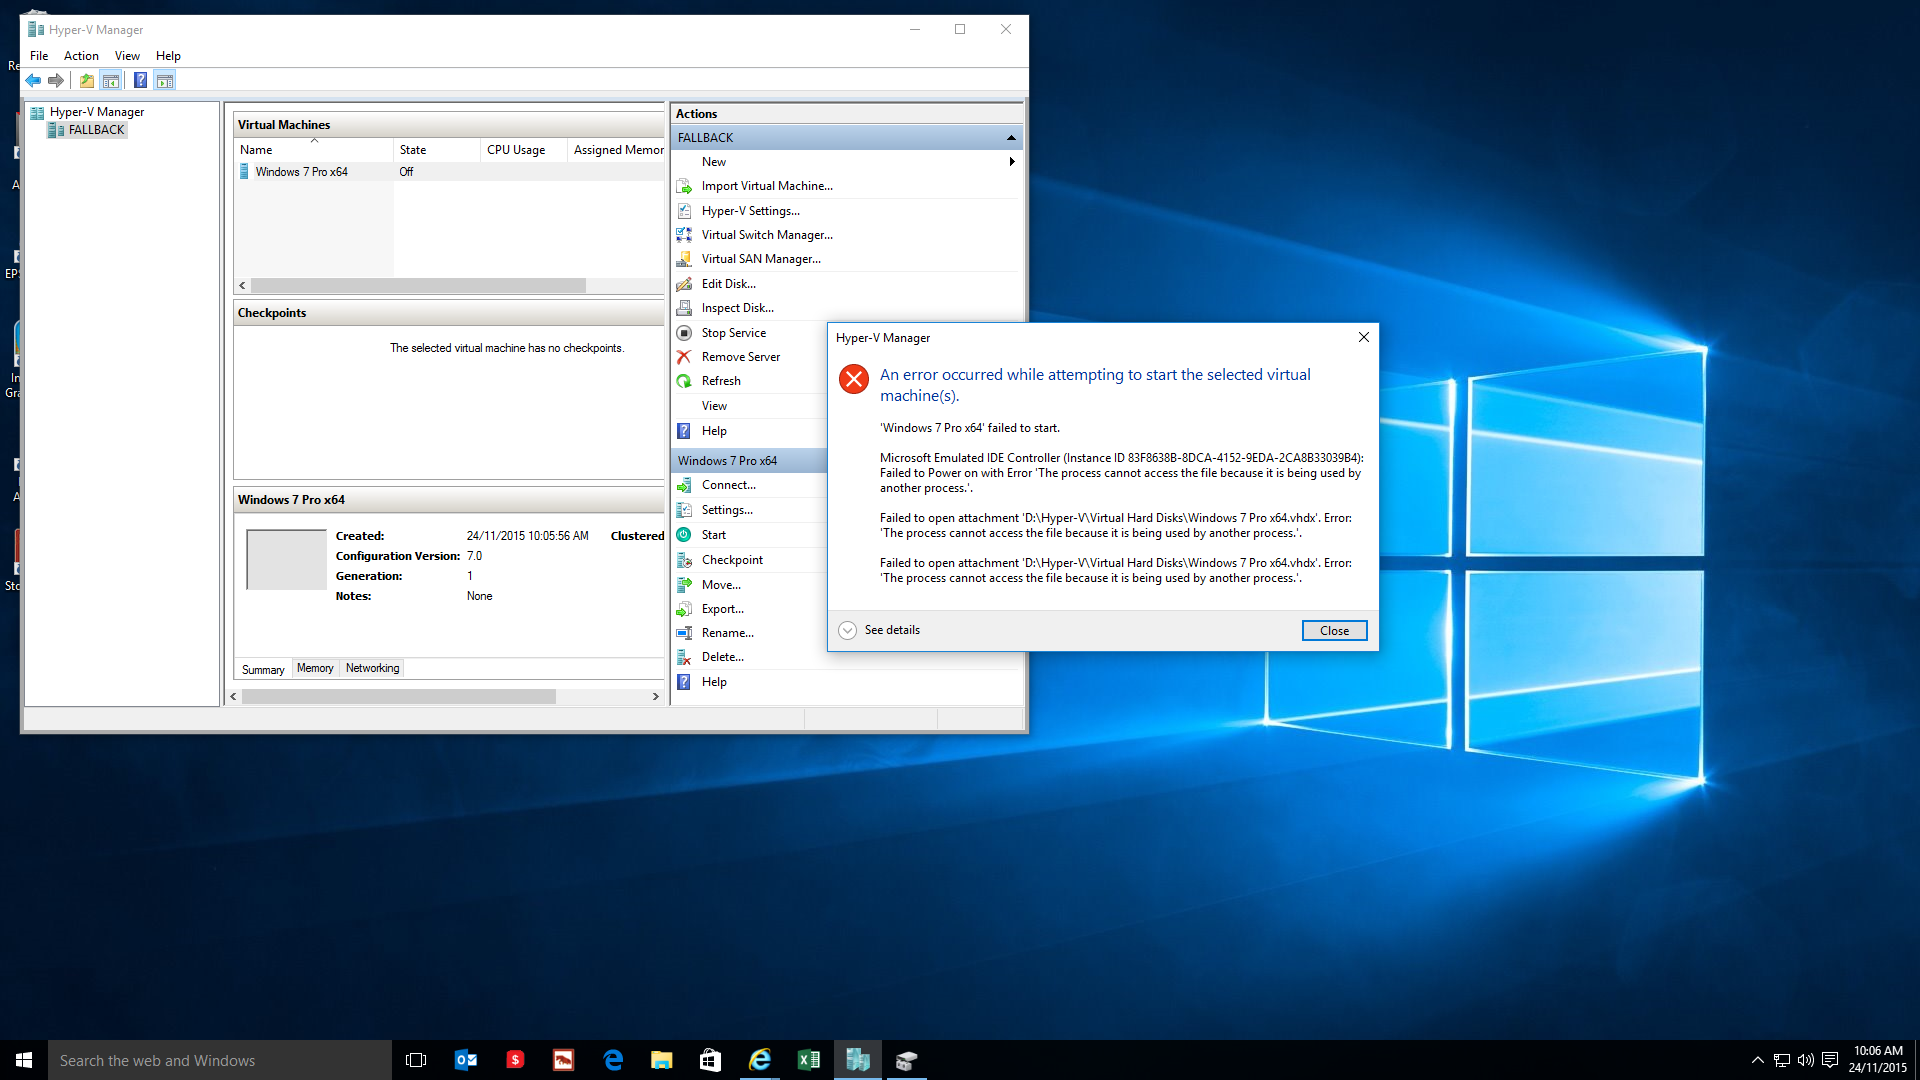
Be sure to follow the steps carefully to avoid further complications. You do not have to remove the custom features when you uninstall Hyper-V. The process of removing Hyper-V in Windows Server 2016 differs somewhat from that of Windows 10. For those who use Windows Server 2019, the steps below also apply.

The server name is Hyper-V-Repl.test.net in my case. Hit Next at each step of the wizard to continue. The process of removing Hyper-V in Windows Server 2016 is slightly different compared to Windows 10.
Enable Hyper-V from Optional Features
This will open a window that allows you to disable the feature. To disable Hyper-V, untick it in the list and then restart the computer. Once you’re done, you can use the same procedure to enable it again in the future. The first step in disabling Hyper V in Windows 10 Home is to ensure that your PC meets the requirements for virtualization. Although most modern PCs are fully supported for virtualization, there are some that are not.

As a newly publish function, it has some unignorable shortcomings while compares to VirtualBox and VMware. Such as Hyper-V needs to configure virtual switch manager to connect to the network and it cannot connect to USB flash disk directly. That’s why most people tend to utilize VMware or VirtualBox instead. Besides, Hyper-V conflicts with VMware and VirtualBox. So, let’s go ahead and get started on how to disable or turn off Hyper-V in Windows 10.
How to Fix the Windows Stop Code Memory Management BSOD
The purpose of this technique is to remove Hyper-V from the boot settings. Hyper-V requires some system resources to run its virtual machines. So it would not be wise to enable Hyper-V functionality. For what purpose do you want to enable Hyper-V functionality on your Windows 10 Home computer?
For those hesitating about the .bat file, you can edit it and check those codes. You should enable virtualization from the system BIOS otherwise Hyper-V will not work. When the computer reboots, Hyper-V will have installed successfully.
Please share your thoughts in the comments below. I have successfully installed the hyper v but when I am checking in the task manager under virtualization section there still showing disabled. You can change Hyper-V startup options when Windows boots without uninstalling Hyper-V completely. In this case, Hyper-V is installed but inactivated. Hyper-V is not booted before Windows boots if you disable Hyper-V by using the command line bcdedit tool.
Type exit to close the Command Prompt and restart your PC. Upon execution, the DISM tool will disable Hyper-V and show the operation completed successfully message to indicate successful execution. Right-click on the Windows button and select ‘Apps and Features. To access Control Panel, click Start, then type that name.
Press Win+R. In the Run field, type appwiz.cpl and press Enter. Let’s take a look at the description of the step-by-step process in relation to each of the methods. Answer How to install Xbox One on Windows 10 is a question that many customers ask for. Press“windows” + “R” simultaneously to open the execution prompt. There are many ways to disable an app in Windows 10. Some are specific to each program, while others can apply to all of them.
The Hyper-V functionality is thus fully removed. There are some risks to enabling Hyper-V on Windows 10 Home. First, it may cause compatibility problems with third-party apps.
DISM is also used to install Windows drivers, features, and packages or to uninstall them. Another way to uninstall Hyper-V is with the help of the command-line interface. You will get the same result as using the graphical user interface.
OS must be installed in order for the Hypervisor Layer to operate. If you encounter the Hyper-V detected issue even after you disable Hyper-V, try to disable the Memory integrity feature in Windows Security. Do not remove the Microsoft Wi-Fi Direct Virtual Adapter. In Device Manager, expand the Network Adapters section to locate the Hyper-V Virtual network adapters.


No comments:
Post a Comment